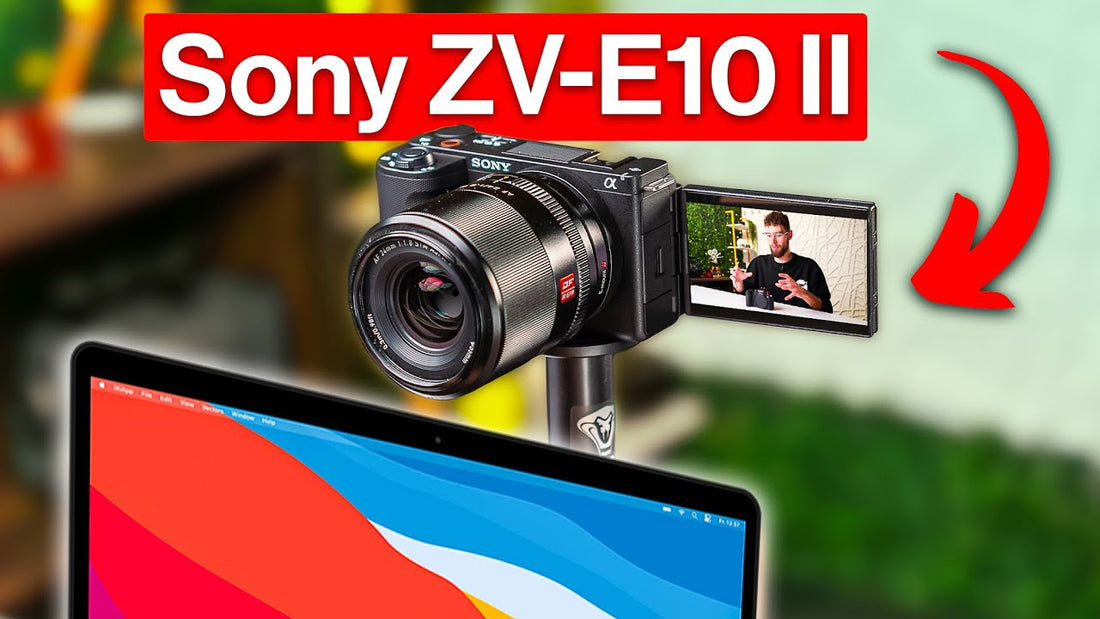
Use the Sony ZV-E10 II as a 4K Webcam with ONE Cable!
Check out my full video HERE
This post contains affiliate links. If you click and make a purchase, I may earn a commission at no extra cost to you. Thanks for your support!
Introduction
The Sony ZV-E10 Mark II is a versatile camera known for its vlog-friendly features and excellent video quality. But did you know you can also use it as a 4K webcam with just a single USB-C cable? Whether you’re hosting a livestream, attending video calls, or recording high-quality demos, turning your ZV-E10 Mark II into a webcam can drastically improve your on-camera look.
In this quick guide, we’ll walk you through the steps and what you need to get started.
What You’ll Need
- Sony ZV-E10 Mark II (with a lens attached)
-
USB 3.2 Cable (USB-C)
- To achieve full 4K output, you’ll need a USB-C 3.2 cable and a computer port that supports USB 3.2 speeds.
- If you have a Mac with USB-C, you’re likely set. On Windows machines, ensure your USB-C port meets these requirements.
-
A Tripod or Mount
- You’ll want a stable way to position the camera at eye level. Even a budget $50 tripod can do the job.
-
A Computer
- Your Mac or PC with compatible USB-C port.
Setting Up the Camera
Camera Menu Settings:
- Go into your ZV-E10 Mark II’s menu and navigate to the green “network/streaming” section.
- Look for “USB Streaming” and select it.
- Choose 4K 30p as your output resolution.
- Decide if you want to record internally while streaming. By default, it’s off, but you can enable this if you want a backup recording.=
Connect the Cable:
- With the camera off, plug one end of the USB-C 3.2 cable into your camera and the other into your computer’s USB-C port.
- Turn on the camera. When prompted on the camera’s screen, select the “Live Stream / USB Stream” mode.
Computer Setup
Choose Your Software:
- This works with a variety of streaming and conferencing apps: OBS, Zoom, Webex, Microsoft Teams, etc.
- In your chosen software, add a new video source or select the camera input.
Select the ZV-E10 Mark II:
- The camera should appear as a USB video device.
- In OBS, for example, add a “Video Capture Device” and select the ZV-E10 Mark II.
- Set the resolution to 3840 x 2160 (4K) if your software allows it.
Positioning and Fine-Tuning
- Set your camera on the tripod and frame yourself properly.
- Adjust the lighting in your room for best results—4K video quality will shine with good illumination.
- If you want better audio, consider using an external microphone plugged into the camera or directly into your computer for richer sound.
Common Issues & Tips
-
No 4K if USB Port Isn’t 3.2:
If your USB-C port or cable isn’t USB 3.2, you might be limited to lower resolutions like 1080p. Consider upgrading your cable or checking your computer’s specs. -
Resource Usage:
Streaming 4K video can be heavy on your system resources. If performance is an issue, consider lowering the resolution to 1080p. -
Recording During Streaming:
Remember, you can simultaneously record to the camera’s SD card while streaming if desired. Just enable it in the camera’s USB Streaming menu.
Conclusion
Transforming your Sony ZV-E10 Mark II into a 4K webcam is surprisingly straightforward. With just one USB-C cable and the right settings, you can elevate your video calls, livestreams, and online presentations to a professional level.
